


How to Set Up Google Search Console: A Step-by-Step Guide for Beginners
If you only ever install one free SEO tool, make it Google Search Console (GSC). It's the only place that shows you exactly what Google sees when it crawls your site, which queries are actually bringing people to your pages, and what's quietly blocking you from ranking better.
This guide walks you through setting it up properly the first time — including the one decision (property type) that trips up almost every beginner.
What Google Search Console Actually Does
Before you dive in, it helps to know what you're setting up. Search Console gives you:
- Performance data — the real search queries triggering your pages, plus clicks, impressions, and average position
- Indexing status — which pages Google has actually indexed, and why the rest haven't been
- Technical health checks — mobile usability, Core Web Vitals, and structured data errors
- A direct line to Google — you can request indexing, submit sitemaps, and get notified of manual actions or security issues
None of this is visible anywhere else. Analytics tools show you what happened after someone landed on your site; Search Console shows you what happened in search, before they ever clicked.
Step 1: Choose Your Property Type
Go to search.google.com/search-console and sign in with a Google account. You'll immediately be asked to choose between two property types — and this is where most beginners guess wrong.
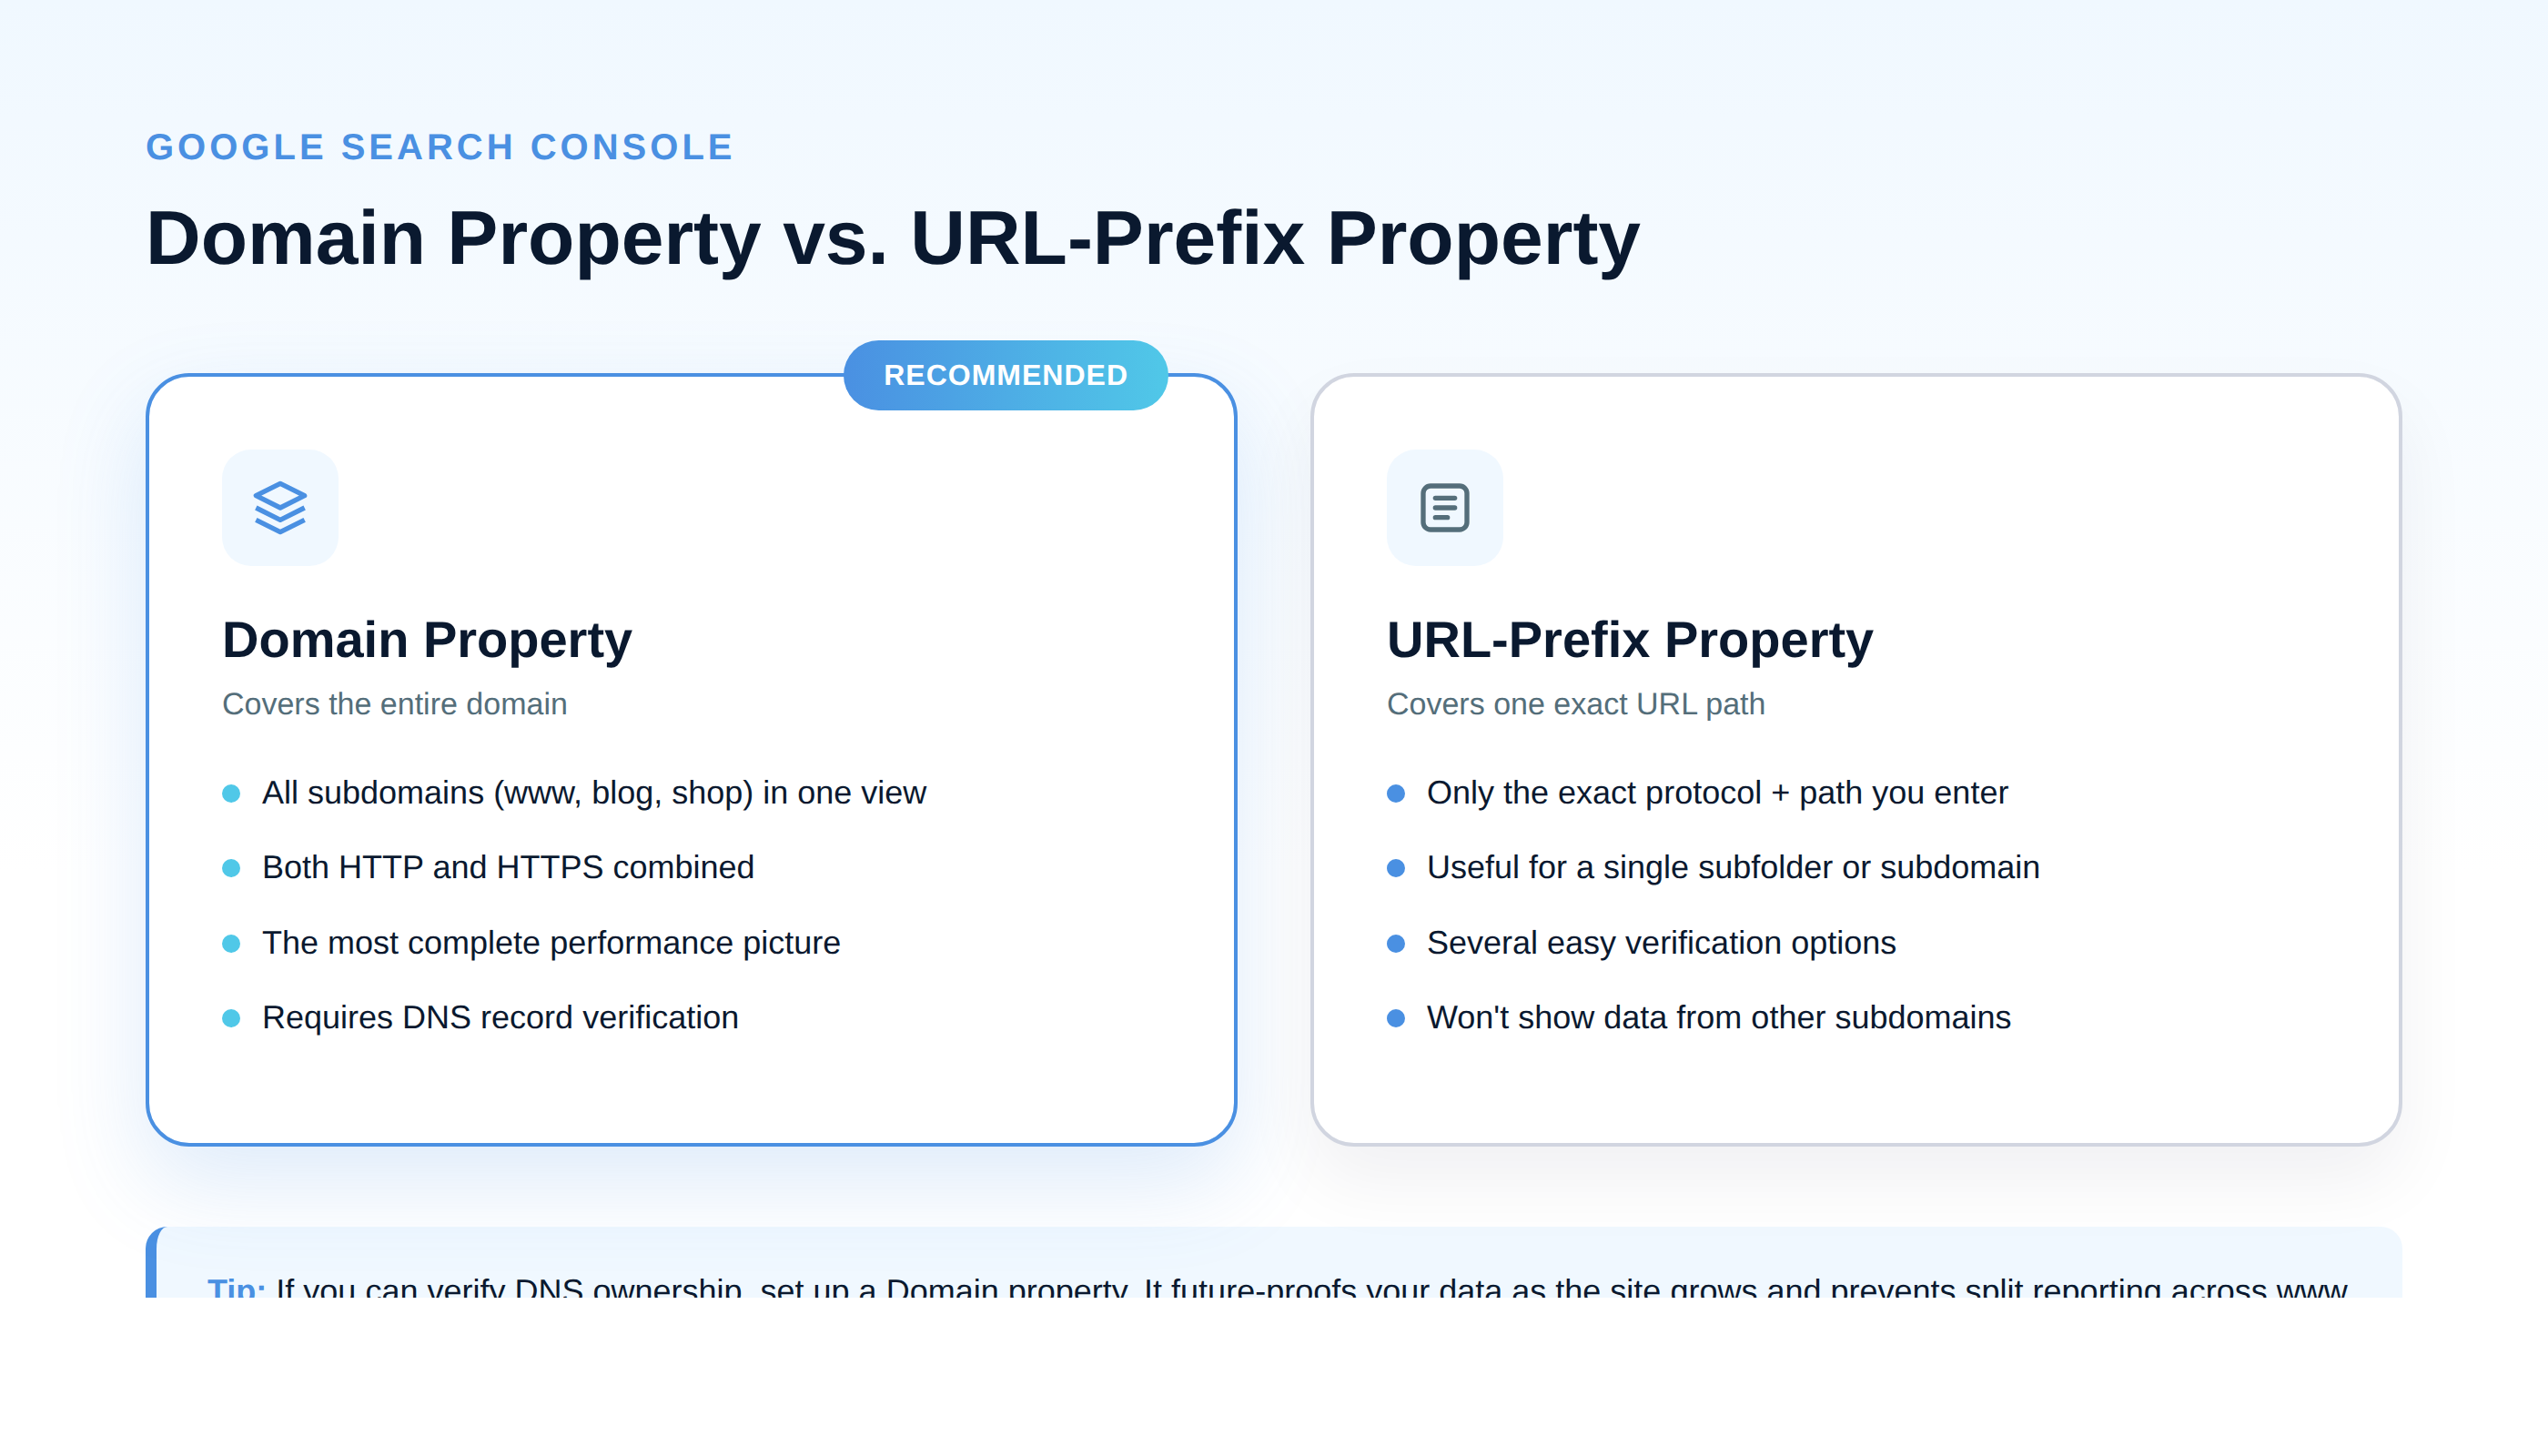
Domain property covers everything under your domain — www and non-www, HTTP and HTTPS, every subdomain — in a single unified view. It's the more complete option, but it requires verifying ownership through a DNS TXT record, which means logging into your domain registrar or DNS host.
URL-prefix property covers only the exact URL you enter. It's more limited, but verification is easier: you can use an HTML file upload, an HTML meta tag, your Google Analytics account, or Google Tag Manager.
Tip: If you have access to your domain's DNS settings, always choose Domain property. Splitting your data across separate www and non-www properties (a common beginner mistake) makes every report harder to trust, because your real traffic is silently divided between two dashboards.
Step 2: Verify Ownership
Once you've picked a property type, GSC gives you verification instructions specific to that choice.
For a Domain property (DNS verification):
- Copy the TXT record GSC gives you.
- Log into your DNS provider (this might be your registrar, or a separate host like Cloudflare).
- Add a new TXT record at the root of your domain with the exact value GSC provided.
- Return to GSC and click Verify. DNS changes can take anywhere from a few minutes to 24 hours to propagate, so don't panic if it doesn't verify instantly.
For a URL-prefix property, pick whichever of these is easiest given your setup:
- HTML file upload — download the verification file and upload it to your site's root directory via FTP or your host's file manager.
- HTML tag — paste a meta tag into your homepage's
<head>section. Most CMS platforms (WordPress, Shopify, Squarespace) have a plugin or settings field for this specifically so you don't need to edit theme code directly. - Google Analytics — if GA is already installed on your site and you have edit access, this verifies in one click.
- Google Tag Manager — same idea, if GTM is already firing on your site.
Once verified, you'll land on your property's dashboard — mostly empty at first, since GSC only shows data going forward from when it starts crawling, not historical data from before setup.
Step 3: Submit Your Sitemap
Your sitemap is a map of every URL you want indexed. Submitting it doesn't guarantee indexing, but it dramatically speeds up discovery, especially for a new or recently restructured site.
- In the left sidebar, click Sitemaps.
- Enter your sitemap's path (commonly
sitemap.xml, so you'd enter justsitemap.xmlafter your domain is already filled in). - Click Submit.
If you're not sure whether your site has a sitemap, try visiting yourdomain.com/sitemap.xml directly in a browser. Most modern CMS platforms and static site generators (WordPress with an SEO plugin, Shopify, Eleventy, Next.js) generate one automatically. If nothing loads, that's a task for your developer or CMS settings before you move on.
Step 4: Set Up Users and Email Alerts
If anyone else — a developer, a marketing teammate, an agency — needs access, add them under Settings → Users and Permissions rather than sharing your login. GSC offers two permission levels: Full (can add/remove users, everything) and Restricted (can view data but not manage settings). Give restricted access by default and upgrade only when someone specifically needs it.
Also worth doing immediately: confirm your notification email is one you actually check. GSC sends alerts for manual actions, security issues, and significant indexing drops — the kind of thing you want to know about the day it happens, not three months later.
Step 5: Know What to Check Every Week
A freshly verified property with no routine is barely more useful than not having one at all. Once data starts flowing in (usually within a few days), build a habit around four reports.
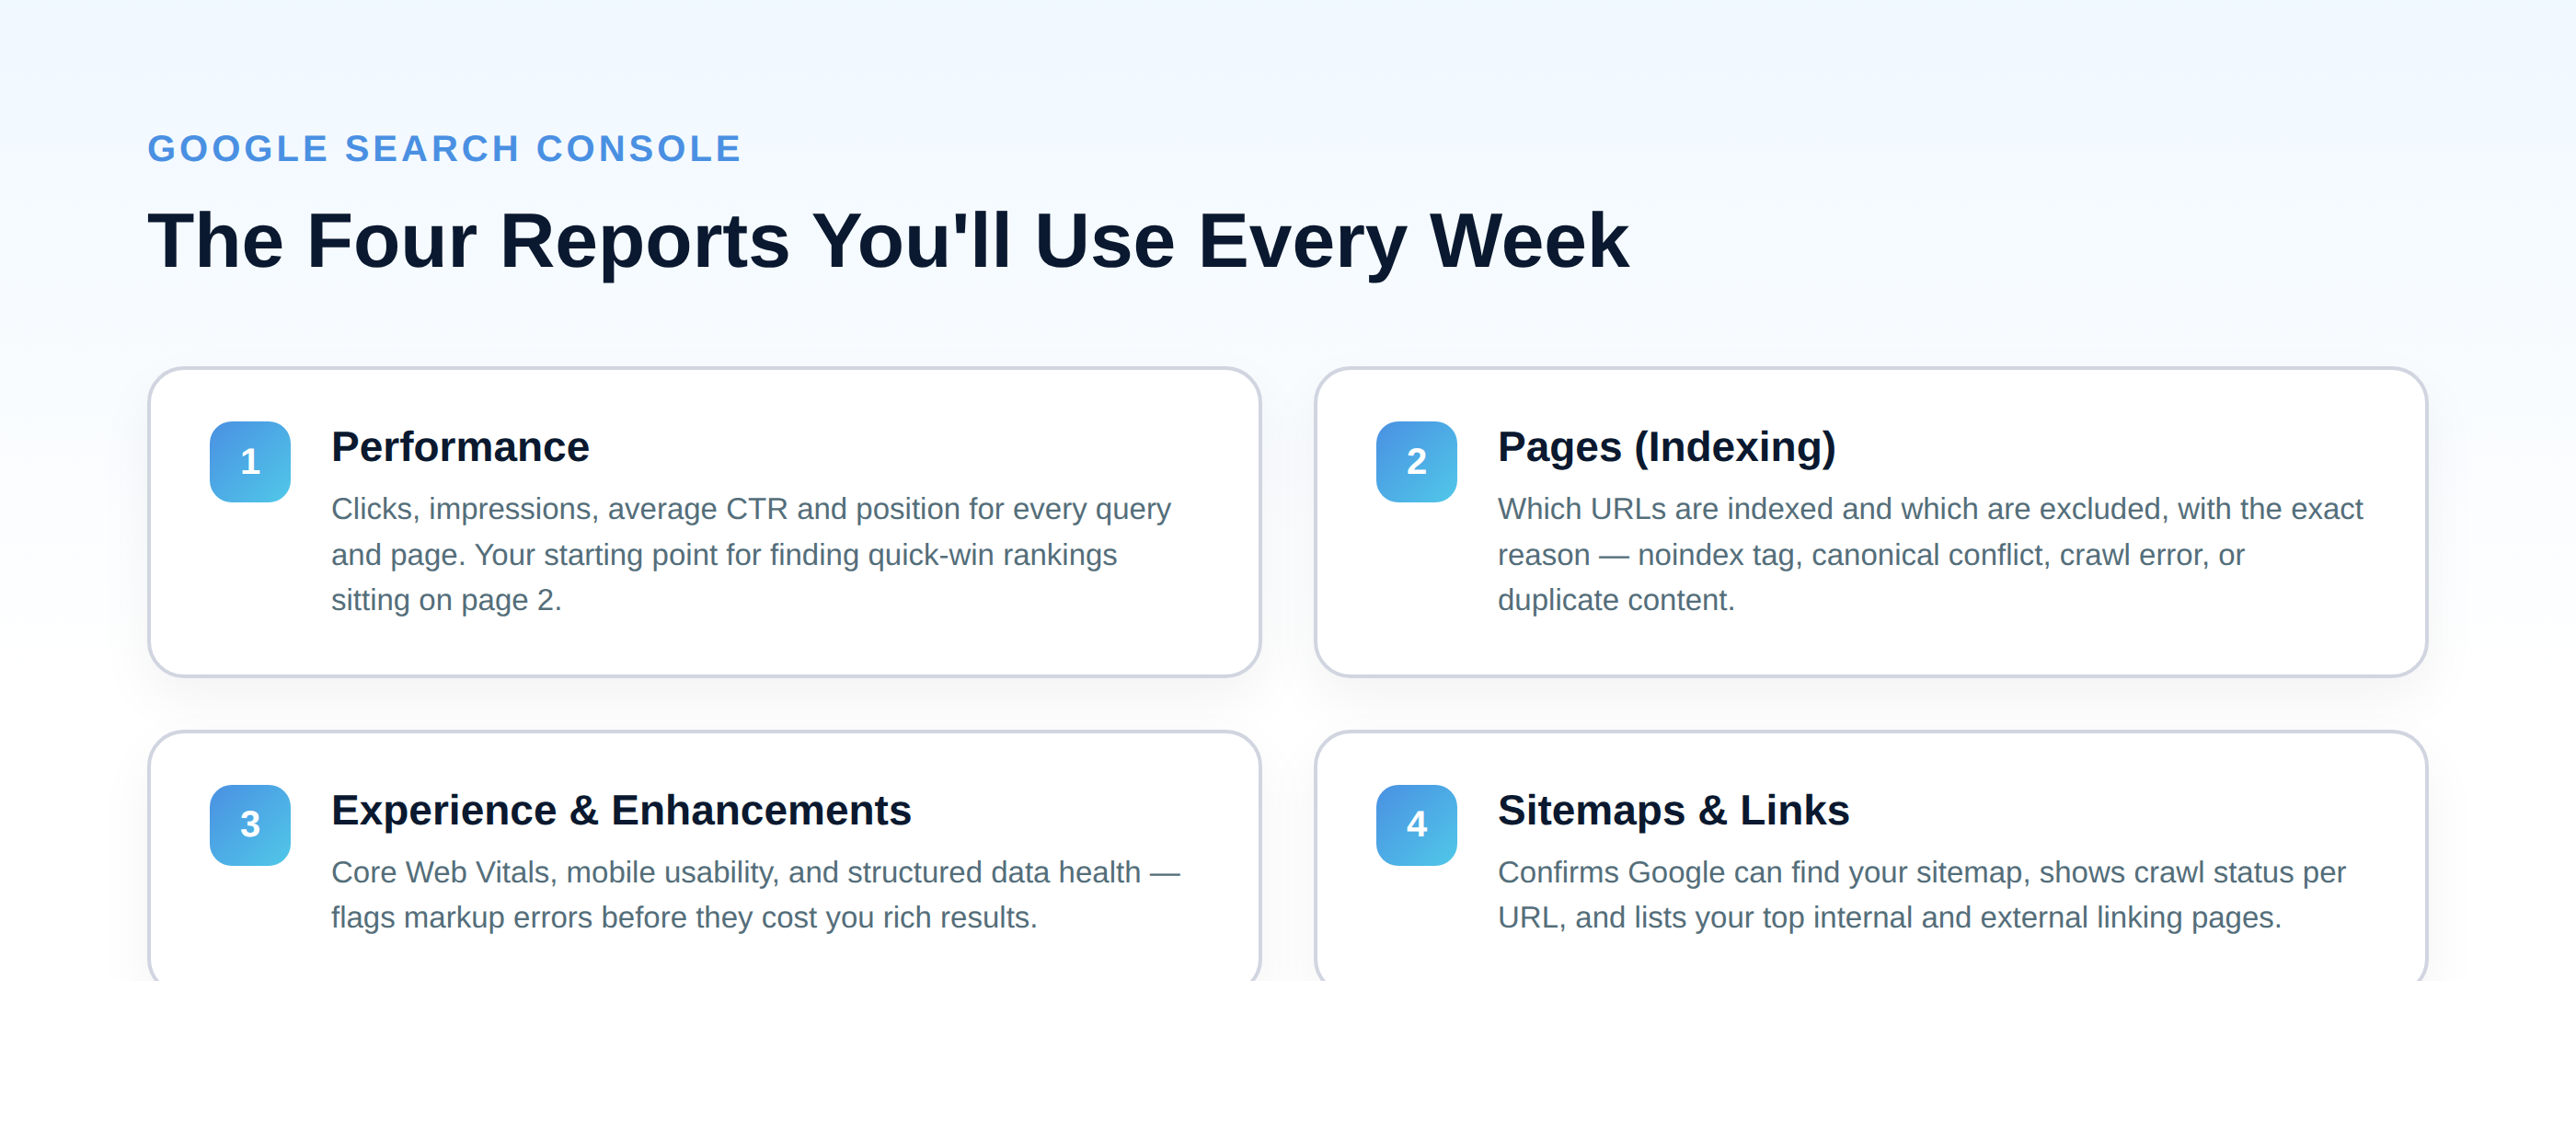
- Performance: Sort by impressions, then scan for queries where you rank on page 2 (positions 11–20) with decent impression volume. These are your fastest wins — often a title tag or content tweak away from a page-one jump. If the fix is the snippet rather than the page, preview the new title and description before you deploy it.
- Pages: Check the "Not indexed" section and read the specific reason next to each URL. "Crawled – currently not indexed" usually points to thin or duplicate content; "Excluded by noindex tag" means exactly what it says and is worth double-checking wasn't accidental.
- Experience & Enhancements: Glance at Core Web Vitals and mobile usability for new failures. A single deploy can silently break something that was previously fine.
- Sitemaps: Confirm your sitemap still shows "Success" and that the number of discovered URLs roughly matches what you'd expect. A sudden drop usually means something broke in how your sitemap is generated.
Common Beginner Mistakes to Avoid
- Verifying URL-prefix for both
wwwand non-wwwversions and never noticing your data is split in half. Use a Domain property to sidestep this entirely. - Ignoring the "Not indexed" report because the Performance report still shows some traffic. Pages sitting there are pages earning you nothing, and the reasons listed are usually fixable.
- Never checking back after initial setup. GSC's value compounds the longer you use it — comparing this month's Performance data to last month's is where the real insight shows up, not the first login.
- Treating GSC data as pageview-accurate. Search Console reports clicks and impressions from Google Search specifically; for full-site traffic and behavior, you'll still want an analytics tool alongside it, not instead of it.
The Takeaway
Search Console setup takes about fifteen minutes, but the decisions you make in that window — property type especially — determine how clean your data stays for years afterward. Get the Domain property verified if you can, submit your sitemap, and build the weekly four-report habit above. Everything else about doing SEO well starts with actually being able to see what's happening, and this is the tool that shows you.